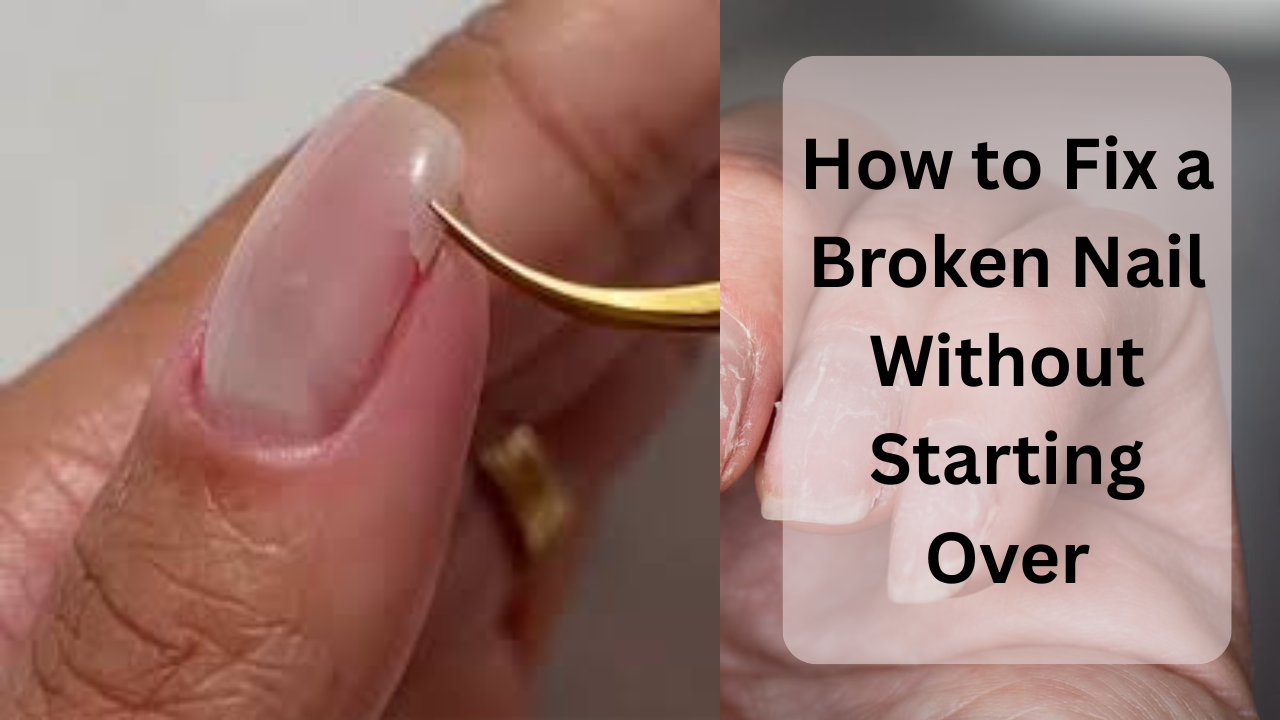
Ever had one perfect nail break just hours after a fresh manicure? It’s one of the most frustrating beauty mishaps. But you don’t always need to clip everything off and start over.
A broken nail doesn’t have to spell disaster. With the right technique, tools, and patience, you can salvage a cracked or split nail, preserving length and avoiding further damage. In this article, you’ll learn how to:
- Diagnose the type and severity of the break
- Repair it using various DIY or pro-level methods
- Maintain strength and prevent future breakage
- Know when it’s better to trim rather than patch
Let’s get into the “fix, don’t start over” mindset.
Why Nails Break & What Determines Repairability
Why do nails break or split?
- Dryness and brittleness: Nails lose moisture and flexibility, making them prone to cracks.
- Trauma or snagging: A sudden hit or catching on something can split along the lines of weakness.
- Weak structure: Deficiencies (e.g. biotin, iron), overuse of polish, and harsh chemicals degrade the keratin layers.
- Underlying health issues: Thyroid problems, fungal infections, or other systemic conditions can weaken nails.
What makes a broken nail “repairable”?
- Location of break: If it’s near the tip or outer half, there’s more room to patch. If it’s very close to the matrix or the break is deep and wide, repair might not hold.
- Size of the broken piece: A tiny crack or split is more manageable than a chunk missing.
- Nature of the break: A clean split vs jagged, shattered structure.
- Time and patience: Fixing takes layering, drying, and smoothing, it’s not instantaneous.
Dermatologists commonly recommend either trimming or patching depending on severity. Allure’s nail expert Dana Stern suggests using glue or a “silk wrap” (e.g. tea bag) for small breaks, but admits that for more extensive breaks, clipping might be ultimately safer.
Step-by-Step Methods to Fix a Broken Nail
Below are multiple repair techniques from basic to advanced, so you can pick what fits your tools, skill level, and break severity.
1. Gentle Filing & Trimming
When to use: Minor crack, snag, or partial split not going too deep.
Steps:
- Sanitize your hands and nail.
- Use a fine-grit nail file (240 grit or higher). Smooth the edges around the crack gently, reducing snagging risk.
- If the crack is too deep, trim the broken piece just below the split, then file the edge into a soft curve.
- Apply a clear strengthening top coat or nail hardener.
Time required: 5–10 minutes.
Expected result: A smoother edge that doesn’t catch and further split.
Caution: Over-filing or being too aggressive can thin the nail plate further.
This is the first step in many repair tutorials (for instance, L’Oréal includes filing as step 1)
2. Nail Glue + Press / Hold Method
When to use: Clean split where both sides align well (not completely broken off).
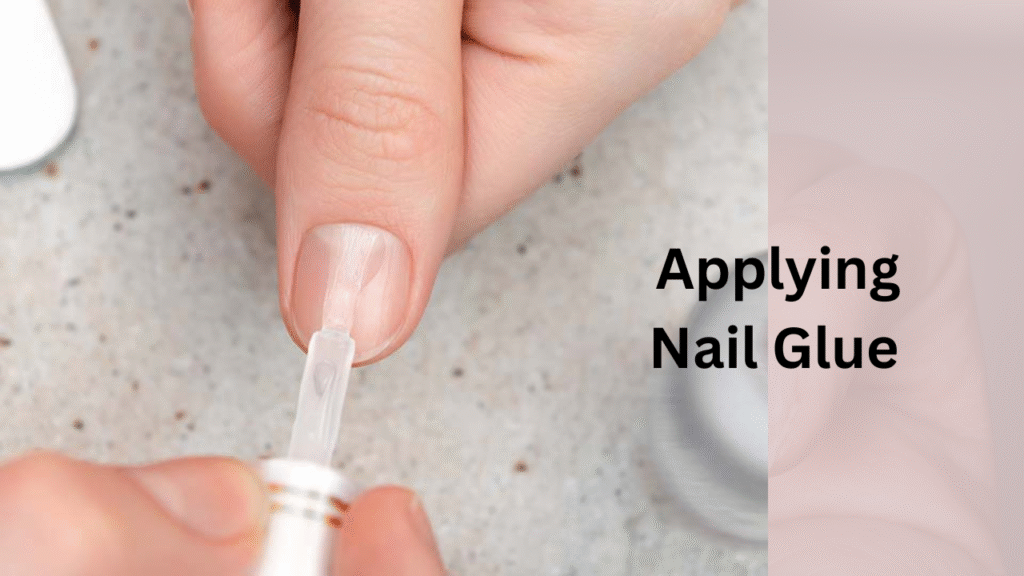
Steps:
- Clean your nail and gently dry.
- Apply a thin line of nail glue across the crack on the underside.
- Press the two sides together gently and hold (10–30 seconds).
- Wipe away excess glue with an acetone-free remover or cotton swab.
- Once cured, buff lightly and apply a top coat or strengthening gel.
Time required: ~5 minutes (plus drying time).
Expected result: A reinforced bond holding the pieces in place.
Cautions:
- Avoid getting glue on your skin or cuticle.
- If pressure is uneven, the bond may be weak.
- This is more of a “bridge” fix until stronger reinforcement.
This is also a standard fix recommended by many beauty sources. L’Oreal Paris+1
3. Tea Bag / Coffee Filter Patch (“Silk Wrap”) Technique
This is one of the most popular DIY hacks and works surprisingly well.
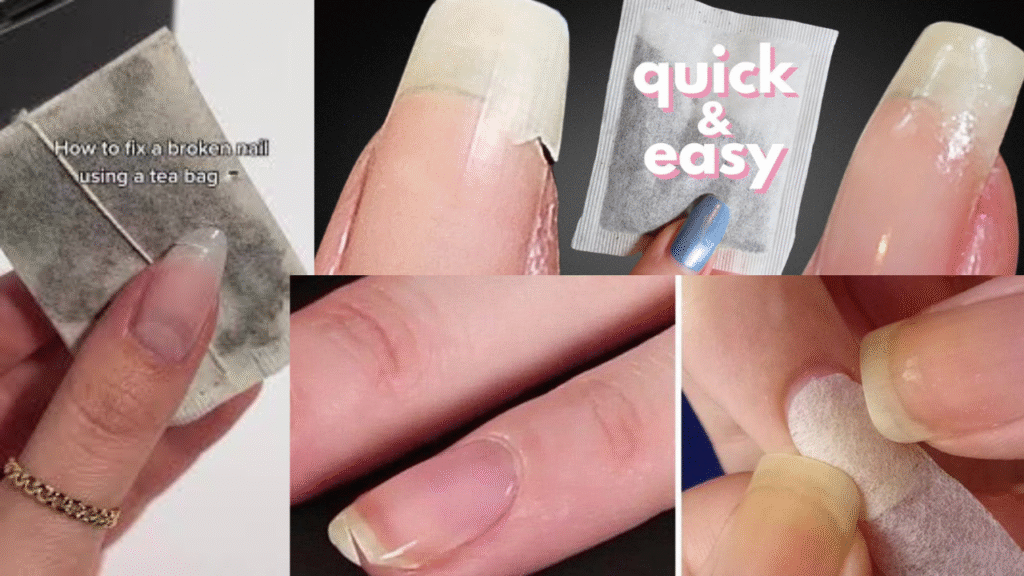
When to use: Crack or split that goes partway into the nail plate.
Materials needed:
- A tea bag (or coffee filter)
- Nail glue or base coat
- Tweezers
- Fine file or buffer
- Top coat
Steps:
- Cut a small patch from a tea bag (paper side, no strings) or coffee filter layer sized slightly larger than the crack.
- Apply a thin base coat or glue over the crack.
- While tacky, place the patch on the crack using tweezers. Flatten it gently.
- Apply another layer of glue or base coat over the patch. Let dry.
- Buff the surface lightly to smooth transitions.
- Apply top coat or color polish to camouflage and seal.
Time required: 10–15 minutes (including drying).
Expected result: A reinforced area that holds cracks in place and lets you keep nail length.
Cautions:
- Patch must be thin and well-aligned; thick or wrinkled patches feel bulky.
- Buff gently to avoid damaging the patch.
- Always seal edges well so the patch doesn’t lift.
Allure’s experts and many beauty blogs recommend this method as a top choice for repairing small breaks.
4. Builder Gel / Hard Gel Overlay
This is a more robust fix, involving gel layers to reinforce the broken area.
When to use: You have gel polish tools (UV or LED lamp) and the break is moderate but not catastrophic.
Steps:
- Clean and lightly buff the nail to help adhesion.
- Apply a thin layer of builder gel or hard gel over the cracked area and slightly beyond to create a “bridge.”
- Cure under lamp as per product instructions.
- Apply a second layer if needed and cure again.
- File and shape the overlay to match your nail profile.
- Finish with a gel top coat.
Time required: ~15 minutes (plus curing).
Expected result: Strong protective reinforcement, often lasting until the nail grows out.
Cautions:
- Use gels formulated for overlays — overly hard or thick gels may stress the natural nail.
- Don’t overbuild — keep thickness moderate for flexibility.
- Remove carefully with proper gel removal; don’t peel.
Many beauty sources (including L’Oréal) cite using gel overlays as a go-to repair after patching. L’Oreal Paris
5. Dip / Acrylic / Repair Kits (Resin + Powder) Option
For those who prefer a more “salon-style” approach but in small scale.
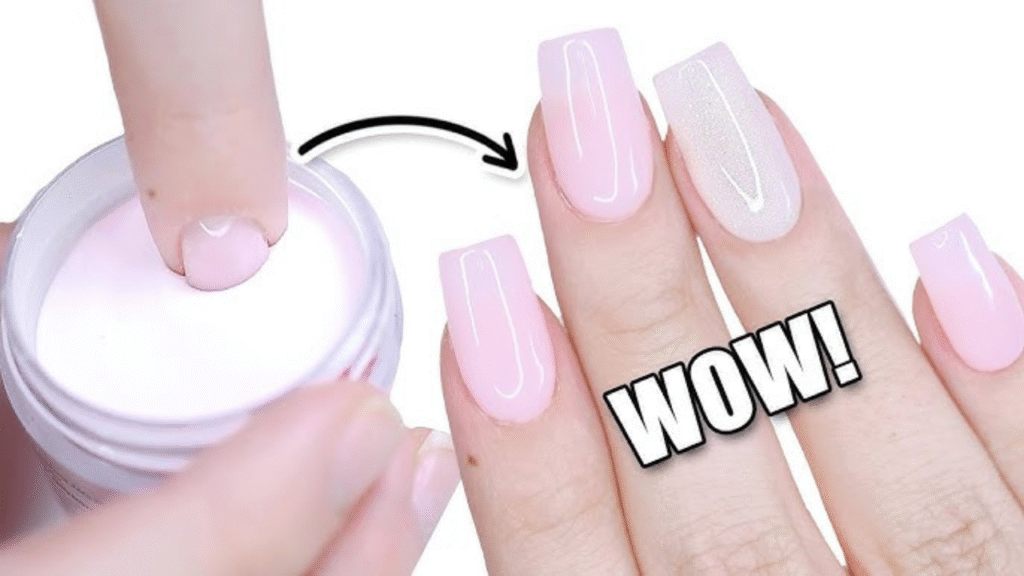
When to use: You have dip powder or acrylic supplies, or a repair kit.
Steps:
- Clean the area; roughen lightly.
- Apply brush-on repair resin or glue over the crack.
- Sprinkle dip powder or fill with acrylic/filler powder.
- Cure or allow hardening.
- Buff and smooth, finishing with top coat or dip sealer.
Time required: ~10–15 minutes.
Expected result: A sturdy patch blending with your nail.
Cautions:
- Overuse can lead to thick, unnatural appearance.
- Removal must be done properly to prevent nail damage.
- Use nail-healthy formulas when possible.
Some resin / powder repair kits are marketed expressly for broken nails. Amazon
Deciding Which Method to Use
| Situation | Recommendation | Why |
|---|---|---|
| Minor crack at tip | File + glue | Least invasive, quickest |
| Full-length split but still attached | Tea bag + glue | Maintains length, decent strength |
| You own gel tools | Builder / hard gel overlay | More durable repair |
| You have dip or acrylic supplies | Resin + powder method | Strong, salon-style finish |
| Break too close to matrix or widely shattered | Trim and file | Better to cut than risk worse damage |
If after patching and a few days the repair lifts or causes pain, trim back and re-evaluate.
Aftercare & Prevention Tips
Repairing is only half the battle — to help your nail heal and avoid re-breakage:
- Hydrate daily
Use cuticle oil (jojoba, almond oil, vitamin E) twice daily. - Protect your nails
Wear gloves for chores, avoid harsh detergents, limit water exposure. - Support from within
Ensure you have good nutrition, protein, biotin, iron, zinc. - Give nails rest periods
Occasionally go polish-free to let nails breathe and recover. - Use strengthening base coats
Look for formulas labeled “nail repair” or “strengthener.” - Avoid excessive filing or thinning
Over-filing weakens the nail structure.
If breakage is frequent or nails feel very weak, consider checking thyroid, anemia, or other systemic causes via a dermatologist or physician.
FAQs
Q: Can a broken nail fully repair itself over time?
Yes — but only by growing out. The break itself won’t fuse. If you protect and patch it, over 3–6 months it often becomes indistinguishable.
Q: Will the tea bag method look obvious?
If done well (thin patch, well-bonded, smooth finish), most people won’t notice. The final paint or top coat helps camouflage.
Q: Is it safe to use super glue instead of nail glue?
It’s possible in a pinch, but pharmaceutical-grade nail glue is safer (less skin irritation) and more flexible. Always use sparingly.
Q: How long should a repair last?
A well-done patch or gel overlay can last until the crack grows out — often several weeks or more — assuming no further trauma.
Q: When should I just cut off the nail?
If the break is deep, very close to the matrix, or too wide/jagged to patch reliably — it may be safer to trim and let it regrow under protection.